By R. Lee Ingalls
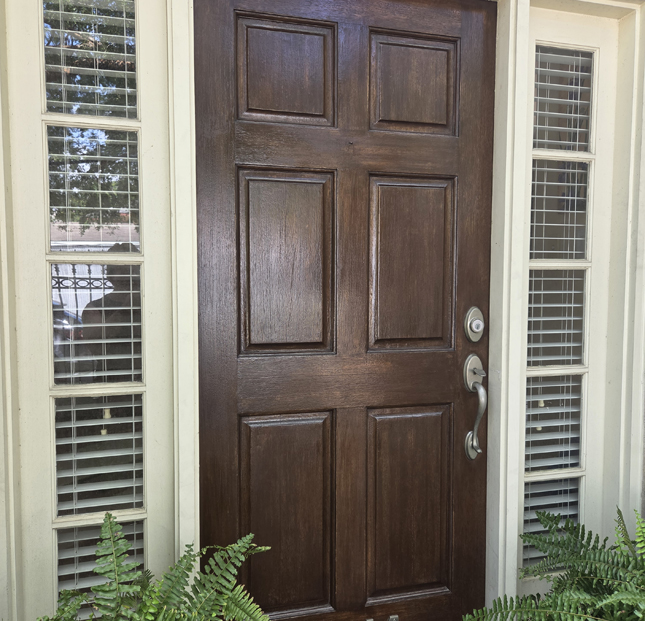
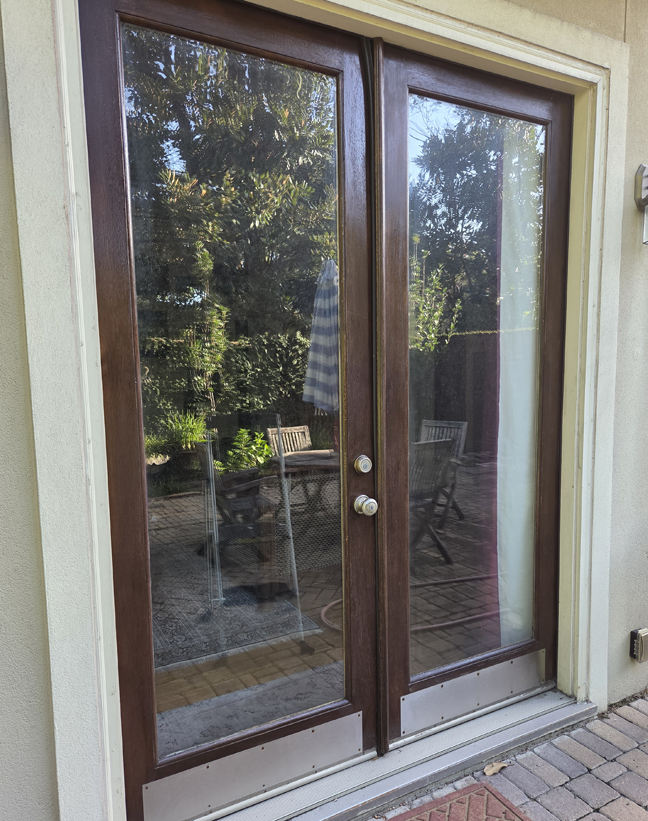
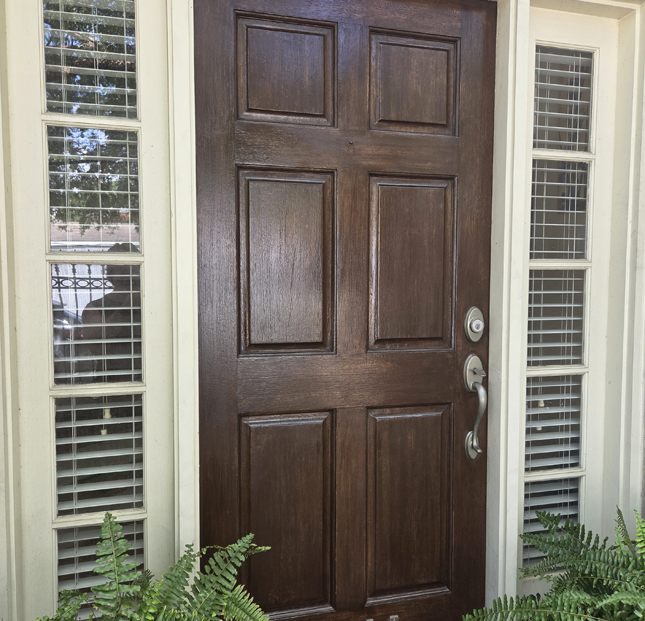
My project this morning was to clean and restore the finish on our exterior doors, and I have to admit, I’m pretty pleased with the results.
I love the warmth and character of stained wood doors, but anyone who has them knows they require some attention. Sun, heat, humidity, and everyday exposure to the elements can take their toll, and if the wood isn’t regularly cared for, those beautiful doors can start looking tired pretty quickly.
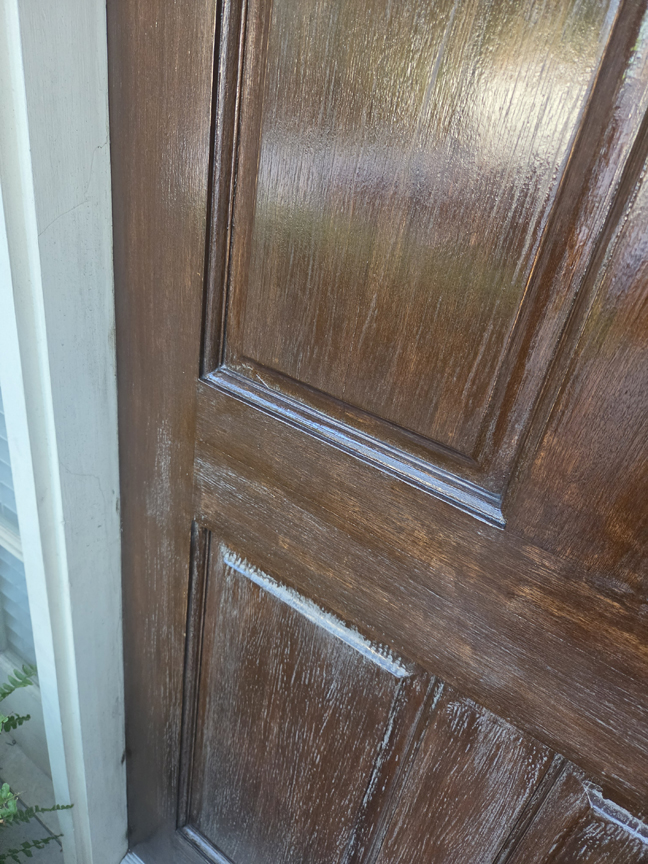
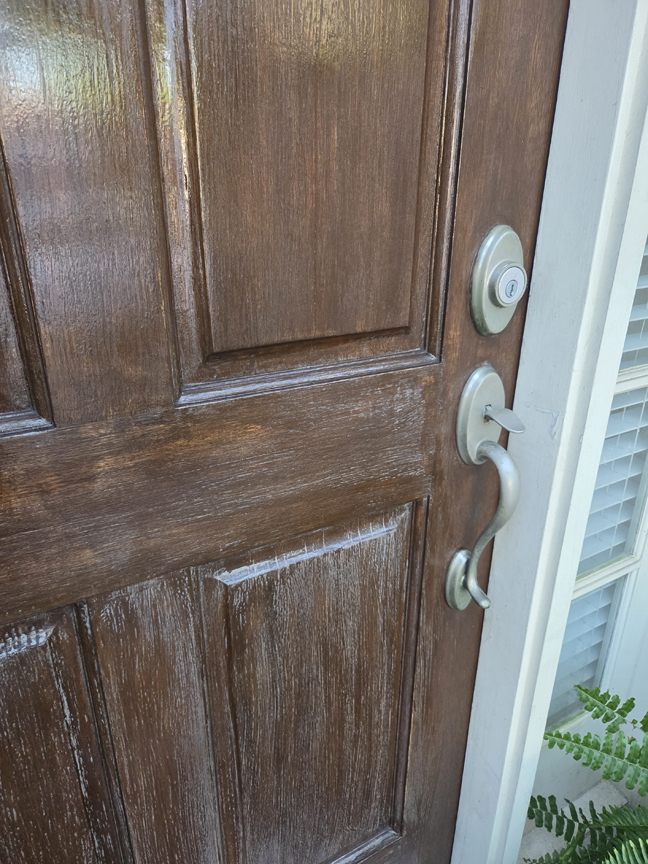
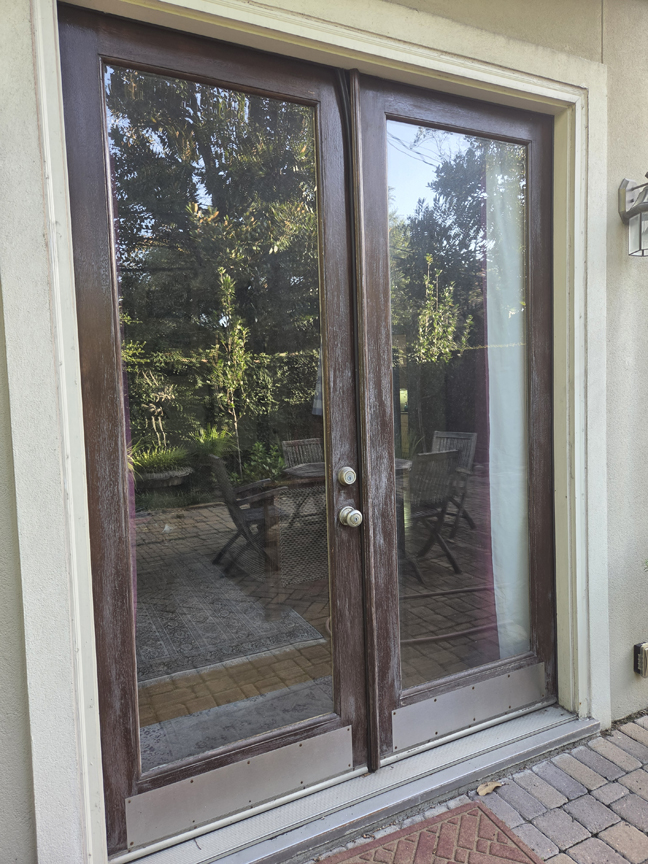
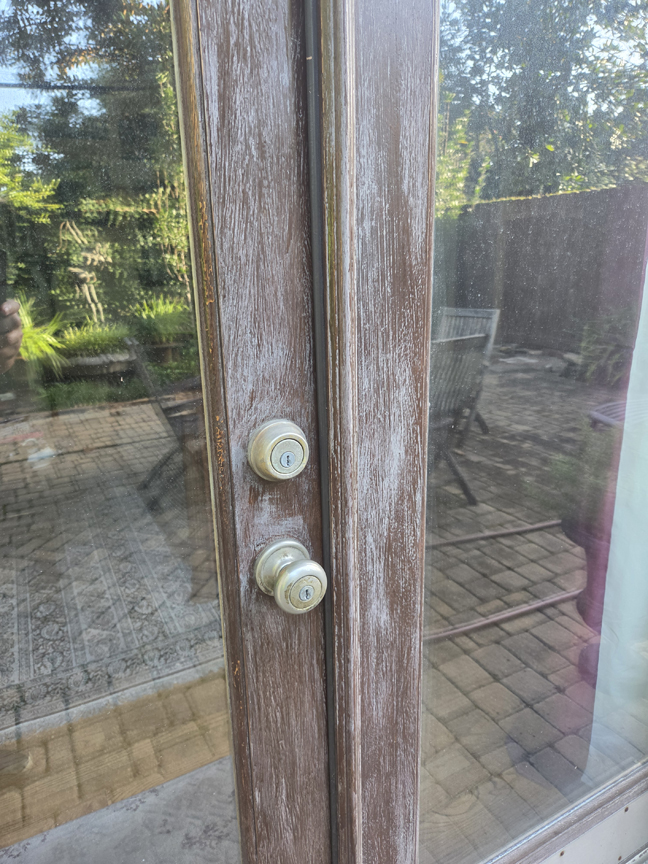
Brett and I had ours professionally resurfaced a few years ago, but as you can see from the photos, they were once again in need of some serious attention. Several of our neighbors recently hired someone to refinish their doors, but somehow we were missed. That, however, is a story for another day!
The last time we had our doors professionally refinished, it cost more than $300, and I believe our neighbors paid somewhere in that same range. Looking at our doors, and looking at that price, I decided there had to be another option.
So, I decided to tackle them myself.
This wasn’t a one-morning project. I’ve actually been working on the doors for more than a week, applying different treatments and giving each one plenty of time to settle into the wood before moving on to the next step. It required a little patience, but I think the results speak for themselves.
And here is the best part, my entire solution cost less than $20.
Now, I’m realistic. Living in Houston, our doors will continue to take a beating from the sun, heat, and humidity, so I suspect I’ll need to repeat the process about once every quarter. But even if I do it four times a year, I can keep the doors looking beautiful for a fraction of what one professional refinishing would cost.
Sometimes maintaining a home isn’t about spending more money, it’s about finding a better solution, putting in a little time, and being willing to do the work yourself.
For less than $20 and a little patience, I’d say this project was definitely worth opening the door to!
The Process
I started by wiping down the doors with a damp cloth to remove any dirt, dust, and surface grime. I wanted to make sure I was starting with a clean surface before applying any treatment.
Next, I applied Howard Feed-N-Wax Wood Polish and Conditioner three separate times, allowing the wood to rest for a day or two between each application. A little of this product goes a surprisingly long way. I found that about a nickel-sized amount on a soft cloth was enough to cover approximately an 18-by-18-inch area.
After several days of this treatment, I could already see a significant improvement. The richness of the wood had begun to return, and the doors looked dramatically better.
For the finishing touch, I followed with two applications of Johnson Professional Pledge to give the doors a clean, polished appearance.
One thing I think is important to point out, I did not use any stain, tint, or colored restoration product. The color and richness you see in the finished doors came entirely from cleaning and conditioning the existing wood and finish.
The entire process took a little patience because I allowed plenty of time between treatments, but based on the results, and the fact that I spent less than $20, I think it was well worth it.
If you decide to give this a try and have any questions about what I did, please let me know.